How to screen record on a Chromebook (and in Chrome on any computer)
By Harsh Rawat · · 7 min read
Every Chromebook has a screen recorder built in. You don’t need to install anything to capture your screen, your voice and even your face. This guide shows the built-in way step by step, how to do the same in Chrome on Windows and Mac, and what to use when someone else needs to watch the recording.
Quick answer: press Shift + Ctrl + Show windows (the key with a rectangle and two lines). Select Screen record, choose full screen, part of the screen or one window, and start recording. Press Search + Shift + X to stop. The video saves to your Downloads folder as a .webm file.
How to screen record on a Chromebook with the built-in tool
ChromeOS calls its recorder Screen capture. These steps follow Google’s Chromebook help page.
- Open Screen capture. Press Shift + Ctrl + Show windows. If your keyboard has no Show windows key, press Ctrl + Shift + F5. You can also select the time in the bottom-right corner, then Screen capture.
- Switch to video. In the toolbar at the bottom, select Screen record (the video camera icon). The plain camera icon only takes screenshots.
- Choose what to record: Record the full screen, Record a partial screen or Record a window.
- Add sound and your camera. Select the gear icon. Under audio, pick Microphone for your voice, Device audio for sound playing on the Chromebook, or Device audio and microphone for both. Turn on Front camera to show your face. Turn on Show clicks and keys if you’re teaching someone shortcuts.
- Start recording. For full screen, click anywhere. For part of the screen, drag to select the area, then select Record. For a window, click the window.
- Stop. Select Stop recording at the bottom right of the screen, or press Search + Shift + X.
Where your recording goes: the Downloads folder, as a .webm video. To save somewhere else, such as Google Drive, open Screen capture, select the gear icon and choose Select folder.
Want a GIF instead? Choose Record a partial screen, then Record GIF in the settings. GIFs don’t include sound or your camera, but they’re handy for showing a short click path in a document.
How to screen record in Chrome on Windows or Mac
Chrome itself has no record button. On Windows and Mac you have two choices: the recorder built into your computer, or a Chrome extension.
Windows 11: press Windows + Shift + R to open the Snipping Tool’s recorder. Select the area to record, then Start, and Stop when you’re done. Recent versions can also record your microphone and PC sound. On Windows 10, the Xbox Game Bar (Windows + G) records a single app window.
Mac: press Shift + Command + 5, choose Record Entire Screen or Record Selected Portion, and pick a microphone under Options. Stop with the button in the menu bar or Command + Control + Esc (see Apple’s guide). The Mac’s built-in recorder captures your microphone but not sound playing from a browser tab, which catches many people out when recording a demo or a video call.
A Chrome extension works the same way on every computer, Chromebooks included. Extensions can record a single tab with its sound, and many give you a share link instead of a file.
When you need a link, not a file
The built-in recorders give you a video file. That’s fine for keeping a copy, but awkward when someone else needs to watch it. A ten-minute recording is too big for most email attachments, and uploading it to Drive and fixing the sharing settings takes longer than the recording did.
I ran into this every day as a freelancer. Clients want small updates all the time: a change you made, a bug you fixed, a daily stand-up. The alternatives were booking a call for a two-minute update, or writing a message so long it was nearly an article. A short recording with a link is quicker for me and easier for the client to follow.
For a while I used Loom. Its free plan stops at 25 videos and 5 minutes per recording, and the paid plan is $18 per user every month, which adds up fast for one person and faster for a team (see how Showthrough compares with Loom). So I built Showthrough. It’s a Chrome extension, so it works the same on a Chromebook, a Windows laptop or a Mac:
- Click the Showthrough icon on any tab. A small panel opens on the page.
- Pick your camera and microphone, and turn on tab or system audio if you need it.
- Press Start recording and choose a tab, a window or your whole screen.
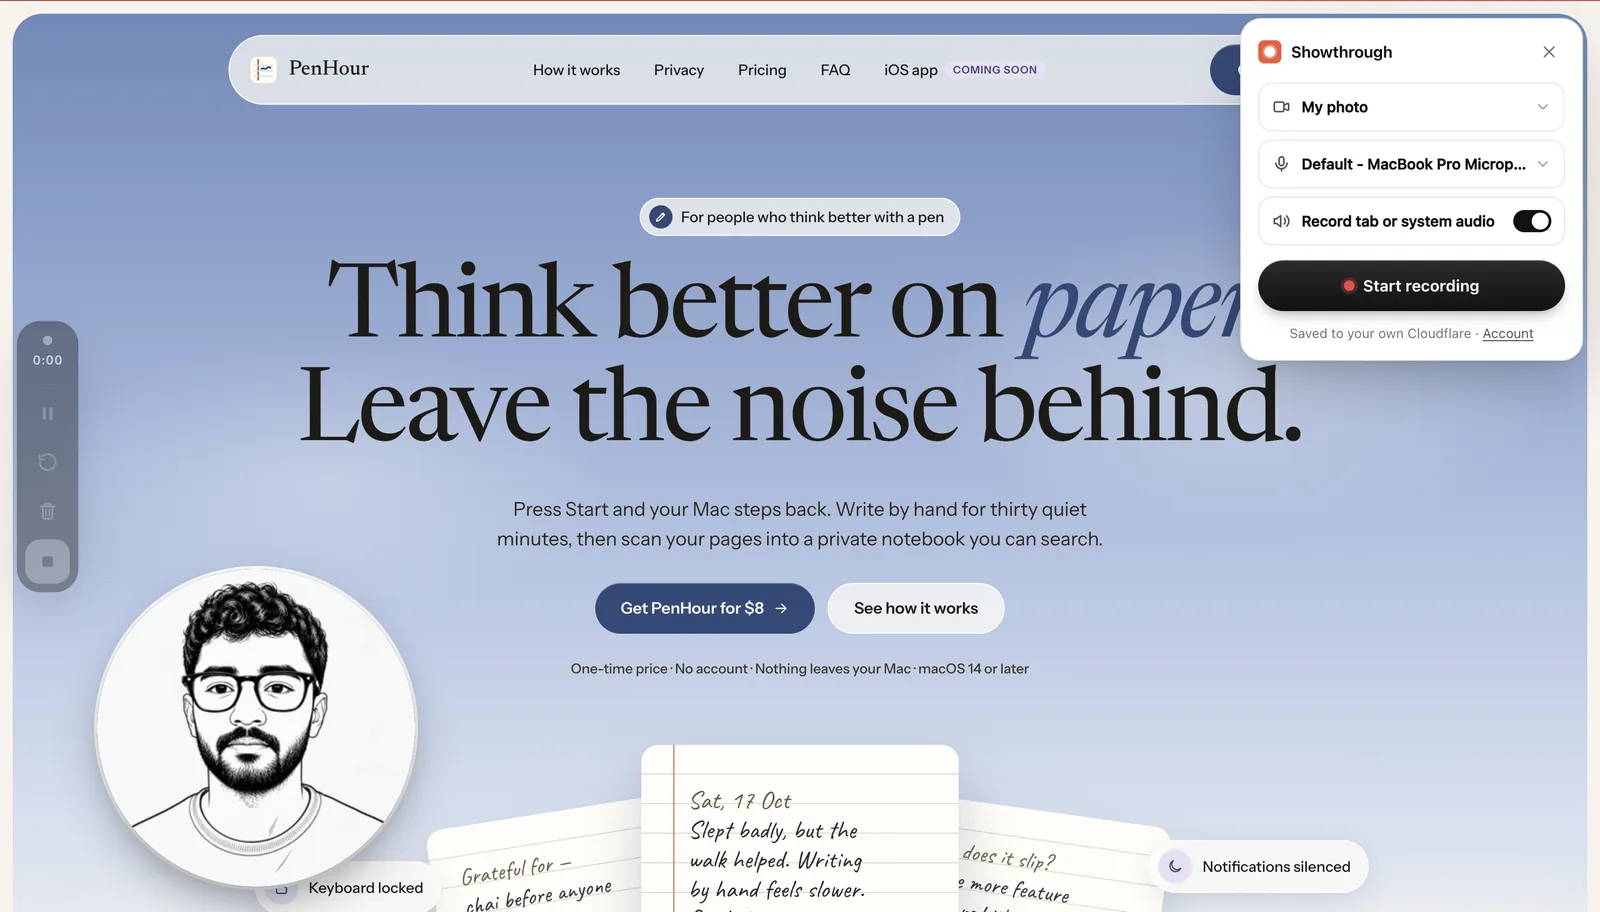
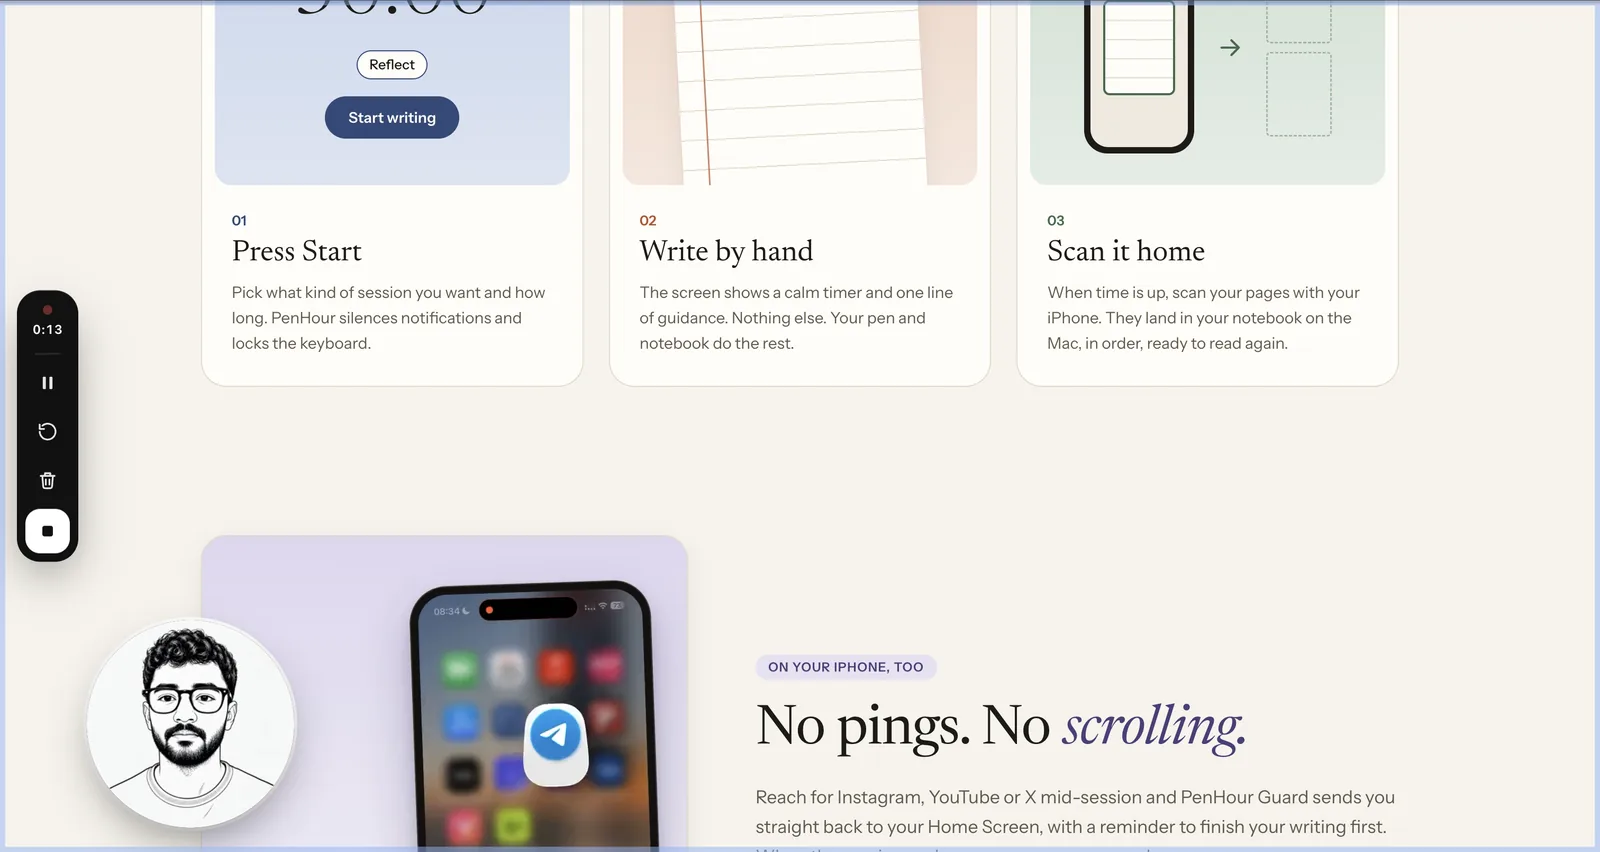
- Talk through what you’re showing. Your camera shows in a round bubble, and the control bar lets you pause, restart the take or delete it.
- Press Finish. The link is already copied, because the video uploaded while you were talking. Paste it into Slack, email or a ticket.
Anyone with the link can watch in any browser, on any device, without an account. They can leave a comment at the exact moment in the video they’re asking about.
Two things are different from most recorders. There’s no limit on the number of videos or their length. And the videos are stored in your own Cloudflare account, not on our servers, so they stay yours. Showthrough is a one-time purchase with no subscription. See how it works.
If you only record now and then for yourself, the free Chromebook recorder above does the job. Showthrough is for when you send recordings to other people often.
Which way should you record?
| Chromebook built-in | Windows Snipping Tool | Mac Shift + Command + 5 | Showthrough | |
|---|---|---|---|---|
| Cost | Free | Free | Free | One-time payment |
| Your voice | Yes | Yes, in recent versions | Yes | Yes |
| Sound from a tab or the computer | Yes | Yes, in recent versions | No | Yes |
| Your camera | Yes | No | No | Yes, in a bubble |
| What you get | A .webm file | A video file | A .mov file | A link, ready when you stop |
Use the built-in tool when you’re keeping the recording yourself. Use an extension when someone else needs to watch it today. If you’re comparing extensions, see Showthrough vs Screencastify or all the alternatives we compare.
If it isn’t working
- No sound in the recording. Open the gear icon before you record and check that an audio option is selected.
- The camera option is missing. On Chromebooks managed by a school or company, the administrator can turn the camera off. Ask your IT team.
- Screen capture won’t open. Use the menu instead of the shortcut: select the time, then Screen capture. On managed Chromebooks, screen capture itself can be turned off.
- You can’t find the file. Open the Files app and look in Downloads, or check where Select folder in the gear menu points.
- The .webm file won’t play for someone. Most browsers play it, but some older video players don’t. Send a link instead, or upload it to Google Drive and share that.
Questions people ask
What is the shortcut to screen record on a Chromebook?
Shift + Ctrl + Show windows opens Screen capture. If your keyboard has no Show windows key, use Ctrl + Shift + F5. Press Search + Shift + X to stop recording.
How do I screen record on a Chromebook with audio?
Open Screen capture, select the gear icon and choose Microphone, Device audio, or Device audio and microphone before you start recording.
Can I record myself and my screen at the same time on a Chromebook?
Yes. In the Screen capture gear menu, turn on Front camera. Your camera appears in the corner of the recording.
Is there a time limit on Chromebook screen recording?
Google's help page doesn't list one. In practice the limit is the free space on your Chromebook, so save long recordings to Google Drive if space is tight.
Where do Chromebook screen recordings go?
To the Downloads folder in the Files app, as a .webm video, unless you choose another folder in the Screen capture gear menu.
Does Chrome have a built-in screen recorder on Windows or Mac?
No. The built-in recorder is part of ChromeOS, so it only exists on Chromebooks. On Windows or Mac, use your computer's own recorder or a Chrome extension.
How do I share a screen recording as a link?
Upload the file to Google Drive and change its sharing setting, or record with a Chrome extension like Showthrough that copies a link the moment you stop.